Through the process of converting from film to digital, there was a slow development of programs that handled the processing of RAW files. As software developed, the potential for extracting the maximum quality from a RAW file became more easily, and more quickly achieved. I remember dragging the temperature slider in the early version of RAW Canon’s processing program and then waiting for the little spinning icon to resolve a new look. Glad those days are gone.
Today, the process, although not simple, is amazing and relatively easy to use. What has developed along side the photographer’s time in the field is the corresponding understanding of what any given scene can look like with the post production process applied. This is important, since it allows the photographer to really push the boundaries, but still maintain good image quality.
This is true across the board, but certainly evident when photographing the aurora borealis. I’ve frequently received the question about how to process RAW files taken of the aurora, so I’d like to briefly address that here. As a precursor to that however, I’d recommend reading an article I wrote on photographing the northern lights with a digital camera. I moved it from my website to this blog for easier interaction with the readers. The first step is properly setting up your camera with a variety of settings, which I have addressed in that article. The second step is taking that RAW exposure into Lightroom for post production processing.
I shoot in auto white balance mode, not that it matters that much, since this is generally tweaked a little anyway, but it is a good starting point.
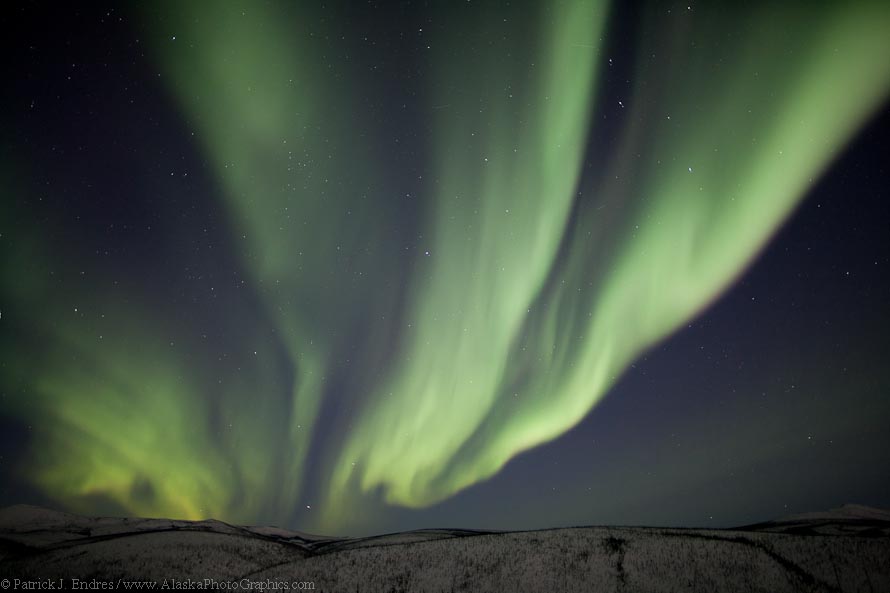
Below is an image I took last week, which is pretty good right out of the camera, although a bit warm overall, and kind of flat.
I usually begin from top to bottom in the LR development panel:
- Color Temp: in this case I cooled it slightly from 5450 to 5268
- Tint: This is one of the few times in nature photography that I use the Tint slider. Since green and magenta are two of the most common colors in the aurora displays, you can experiment by a combined use of tint/temperature to achieve the proper look. In this case, I increased tint from 74 to 80.
- Brightness: This affects the midtones and I decreased it from 50 to 20
- Contrast: This will give some punch into the image and I moved it from 25 to 80
- Clarity: A slight amount of 11 adds a little edge definition. Use it gently.
- Vibrance: I prefer this over saturation, almost always with aurora, and a little bit. In this case +9
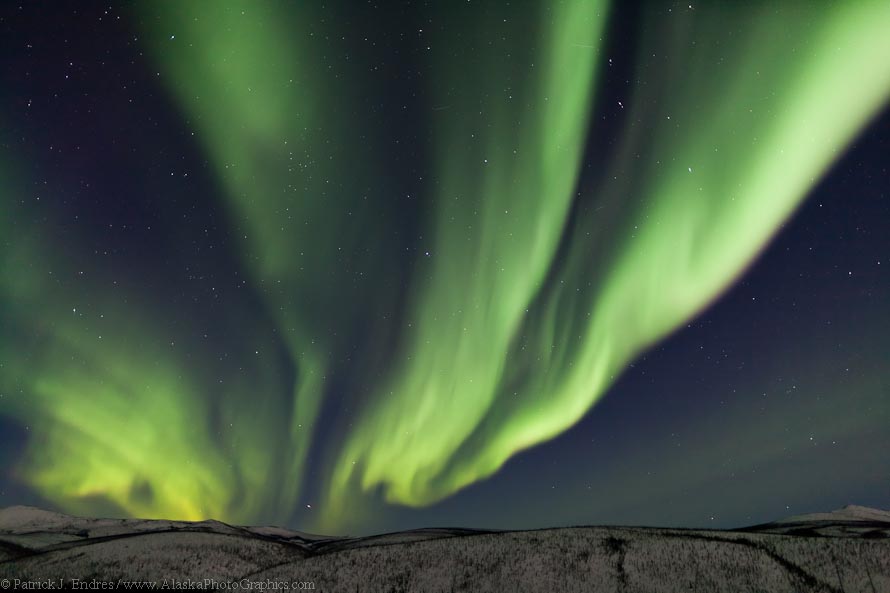
- Lens Corrections: If you have the LR3, you can take advantage of the Lens Corrections and apply the proper profile correction for your lens which will deal with chromatic aberration and vignetting automatically. However, I find that the auto vignette often needs a little reduction, especially with aurora as the images appear to have over-brightened corners. In some cases, the dark corners can give more focus on the visual shape of the aurora. It just depends on the subject and content of the image. In this case, I reduced vignetting to 93.
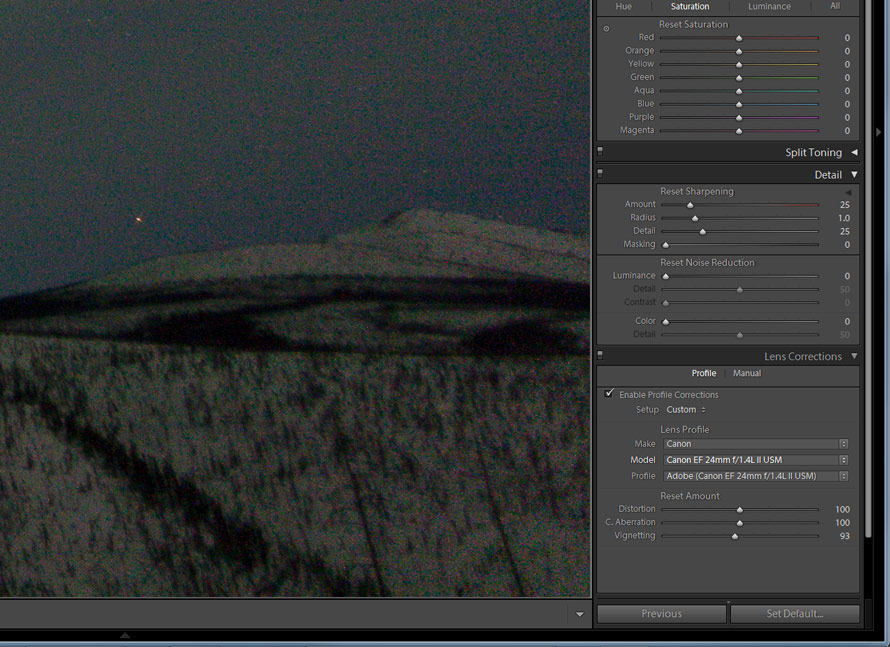
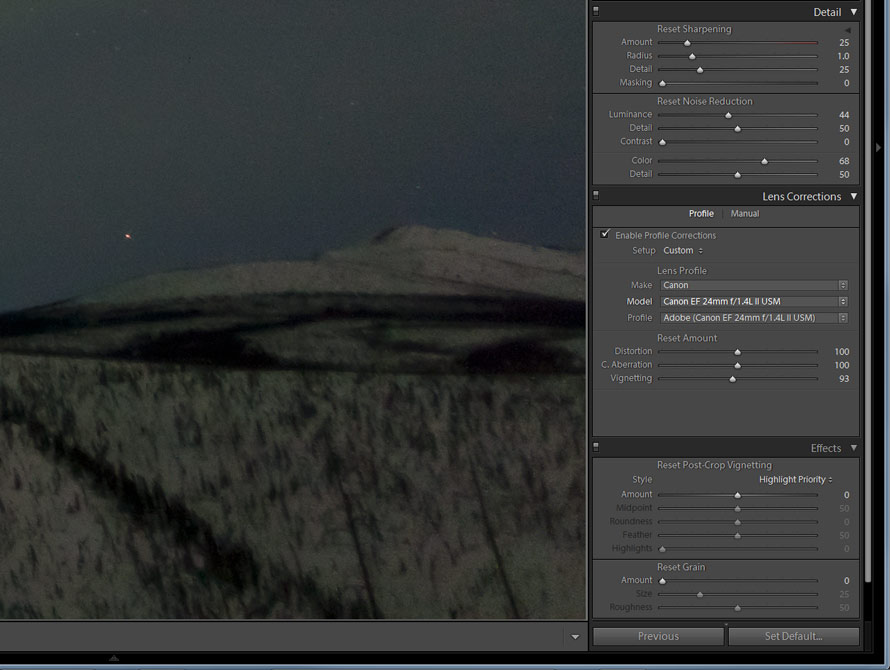
- Detail and Noise Reduction: This is a big one, since aurora images are usually taken at high ISO. This frame, taken at 800 ISO, has some noise and grain after all of the above tweaks, especially in the corner areas. There are a number of noise reduction programs out there, but I prefer to keep my images in LR, and work from the digital file so I use LR’s built in Noise Reduction. This involves two settings, for the two respective types of noise: Luminance and Chromatic (or color). In this case I moved the default 50 color to 68 and the Luminance from 0 to 44. You can see the difference below. The application of these values will vary considerably from image to image, so don’t use this as a standard. If the image looks too mushy and smooth, you can try adding in a little grain which is found in the Effects tab.

No color or luminance noise reduction applied

After luminance and color noise reduction
These is more to say on the subject, but that is a little introduction to using LR to process a RAW northern lights photo.

Original capture in RAW before LR adjustments. Canon 1Ds Mark III, 24mm f/1.4L II, 5 sec @ f/1.4, ISO 800.

After processing in LR as noted in the above listed adjustments


