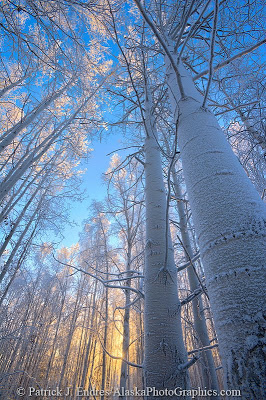
 One advantage of shooting digitally is the higher dynamic range compared to slide film. This allows greater shadow and highlight detail, bringing photography one step closer to what the eye is capable of seeing.
Sometimes, however, it’s still not enough. When this is the case, one option is to create an HDR, or High Dynamic Range photo. HDR can also be used to create unique effects, but this example is geared more towards making difficult scenes look more vibrant and real than the camera can do alone.
Shooting for HDR requires some foresight; you must shoot several frames of the same scene. Generally, 5 frames is enough. More can help, but the frames must line up perfectly, so fewer can be beneficial. Since the frames must align, subjects in motion are usually not an option. Even a light breeze can cause problems with trees. With the camera on a solid tripod, preferably using mirror lockup and auto-bracketing, shoot five frames no more than one stop apart. Exposure changes must be made with the shutter, or else the depth of field will change between photos.
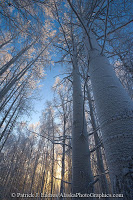
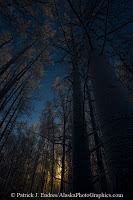
Here are three photos from a series of five. The middle one looks OK, but is a little dark, under-saturated, and has some overexposed areas. The lightest image reveals all the shadow detail, and the darkest image will be used for the highlight detail from the sun.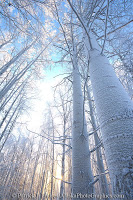
Using the Merge to HDR command in Adobe Photoshop CS3, we blend the five images. First we apply adjustments to the camera raw images, but we don’t convert them to Tiffs. The raw images have more data. Merge to HDR outputs a 32 bit image, which has over two billion levels per color channel, compared to just 256. This allows the file to have more detail than a screen can display. Normally, pure white or black areas in a photo are just that, but with the HDR image, if there was detail in one of the original files, these deep shadows or blown highlights can be adjusted to bring out the detail.
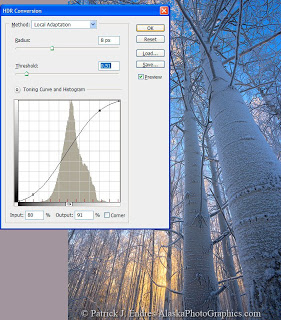 The real trick is to show all of these details at once for display or printing. After changing to the more usable 8- or 16-bit mode, the HDR conversion dialog appears. This is where the final look of the image is determined. There are several conversion methods which work for different images. The best thing to do is simply experiment. Many photos seem to benefit from “Local Adaptation,” as in this example. This also lets you dial in a curves adjustment to optimize contrast at the same time. The final result is a photo that reveals the glowing, pastel colors of this frosty morning.


