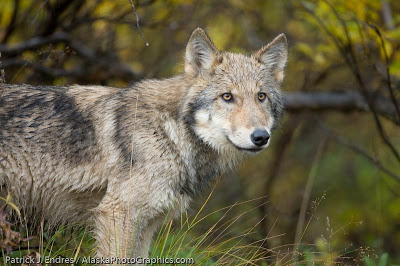
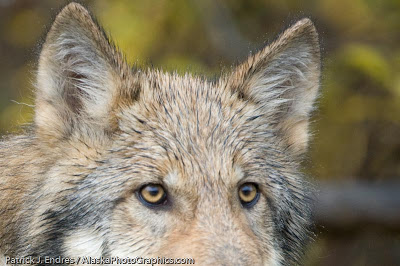
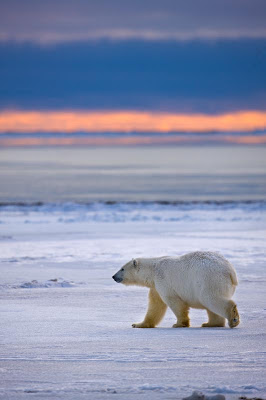
I was recently asked why many of the photographs in the recent posts were shot at 400 or 800 ISO. Do they hold up well at that ISO or was I shooting them for web resolution in mind? To answer this question appropriately involves addressing a few issues. First of all, I want to make clear that the following comments pertain to the Canon 1Ds Mark III camera. This is important to note, since cameras vary in their sensor type, capabilities and signal to noise ration. And second, my criterion in shooting 99% of my subjects seeks for end quality sufficient for a two page spread in a magazine.
Many out their in the blogosphere have done tests with ISO settings, and I don’t plan to redo that here. I’ll show you images I’ve taken and how they have been reproduced in the marketplace – which is the real test. It took me a long time to feel comfortable shooting at 400, let alone 800 or 1000 ISO. The days of film had so ingrained an apprehensiveness about quality at those values, that I defaulted to the lowest possible ISO. Now however, if the technique is correct one can shoot at ISO 800 and expect sufficient quality for reproduction in four color press and fine art prints. I’m not intimating that there is no difference between 100 and 800 ISO, but the key is to select the ISO that is optimal for your subject and conditions.
When shooting landscapes with a tripod, I can generally default to ISO 100. If I’m hand holding the camera or shooting with long lenses, I start stepping up the ISO to give me the shutter speed and/or f/stop that is appropriate to the conditions.
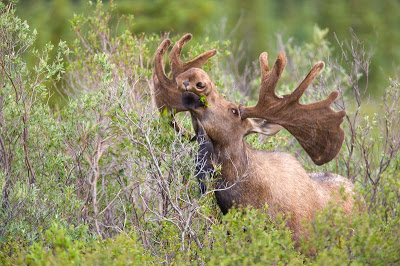
For example, here is a photo of bull moose that I shot at 400 ISO with a shutter speed of 1/160 sec.
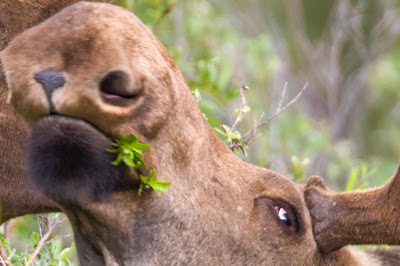 (cropped tight to show detail)
slightly soft due to a slow shutter speed. ISO 800 would have been better in this case, giving a shutter speed of 1/320 instead of 1/160.
Unfortunately, due to the bull’s quick movement it is slightly blurry. This is a classic example of how I should have been at ISO 800, at 1/320 sec instead, as it would have rendered a sharp image. In the end, a sharp image wins, and, if the quality is sufficient at 800 ISO why not use it! It is true that there is a little more noise at 800, but not much, and the trade off is obvious.
But, there are some important things to consider when shooting with high ISO.
- Your exposure needs to be accurate. Post production exposure adjustment is more limited at high ISO speeds. If you are one stop underexposed and plan to boost it in your post production process, it is akin to shooting at twice the ISO. So, your 800 ISO suddenly looks like 1600 ISO. I have found that from a quality perspective, it is better to adjust your ISO in the field instead of planning to boost the exposure after the image was taken.
- I also use an exposure style called “Exposing to the Right” which seeks to optimize the signal to noise ratio of a file by shifting more of the levels to the brighter side of the histogram, then pulling them back in post production. In a way this is sort of like reducing your ISO. There is an article on this at Luminous Landscape, I recommend reading it.
Through my testing, I’ve concluded that an image shot with good glass at 800 ISO, exposed correctly, can be printed at 24 x 36 inches and look beautiful. In addition to the high ISO capable camera’s these days, there are programs that can help reduce noise as well, and we use Noise Ninja when necessary.
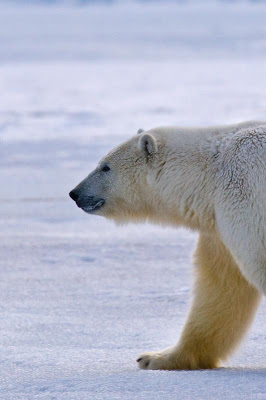
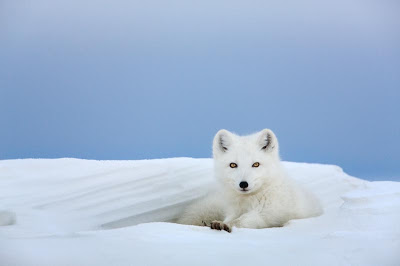
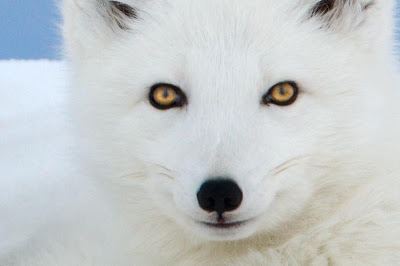
Below are some samples of images that would print 24 x 36 with adequate sharpness. I realize that such a comment is hard to see realized on the small images posted here, you will have to trust me. Note the ISO

