A few comments about photographing white subjects in white environments; in particular the issue of exposure and post production adjustments in Lightroom 2.5. Let me first state that I’ve always utilized an expose-to-the-right shooting style (you can explore that concept on luminous-landscape if you are unfamiliar with it). To summarize that briefly, it is a method of maximizing the signal to noise ratio in a digital file. The result is an out-of-the-camera RAW file that tends to look washed out and overly bright, so it will need a little adjustment in post production software to look good. Shooting this way has the advantage of maintaining more detail in shadowy subjects, not necessary reflected in this particular frame. Exposing to the right may slightly reduce your shutter speed/aperture, and a judgment call is needed based on your accepted exposure setting minimums. Sometimes, if you are already at your high ISO maximum, a file slightly underexposed but shot at 1/500 sec., to stop motion is better than the proper exposure taken at 1/250 sec, which would have some motion blur. You would then boost the exposure in post production and sacrifice some potential grain for a sharpness. In this series of shots, some were a touch blurry from motion since i was only at 1/320 sec, I would have been better served by increasing the shutter speed slightly to 1/500 or 1/640 sec. Oh well, I squeaked by.

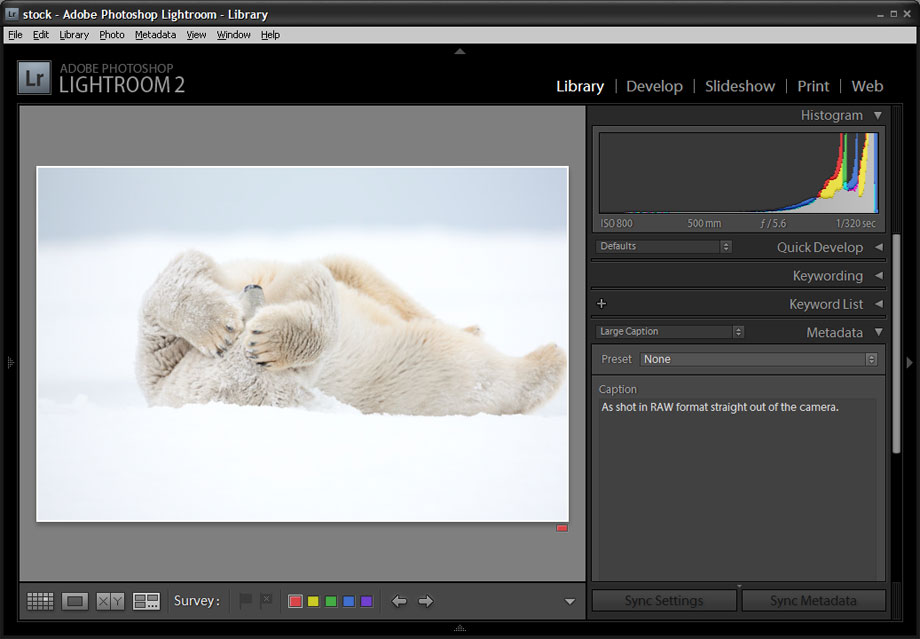
As shot in camera, note the histogram reflects the whites in the scene.

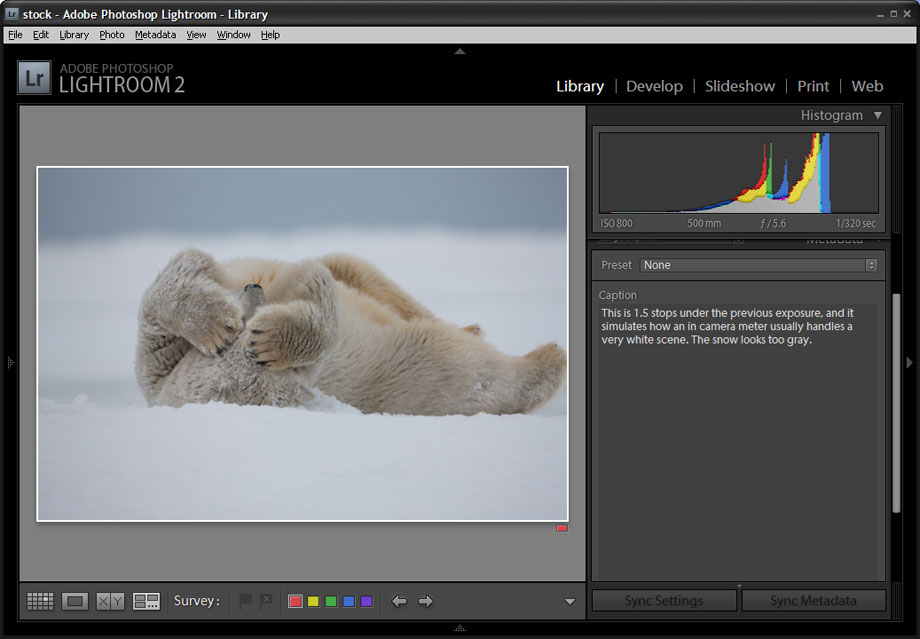
This is 1.5 stops under the previous exposure, and it simulates how an in camera meter usually handles a very white scene. The snow looks too gray.
Back to exposing white subjects. I prefer to shoot in manual mode for the utmost control, but use other modes when appropriate. It is actually fairly easy to properly expose a subject like a polar in the snow on an overcast, flat-light day. Take a shot and look at your histogram. Since snow is white, or very near white, you should expect to see data on the far right of the histogram, which represents your white levels. If it is more in the middle, then your snow will look gray, and you will want to tweak your exposure to compensate for this. Compare the histograms above to see the difference. Pure white is all the way to the right.
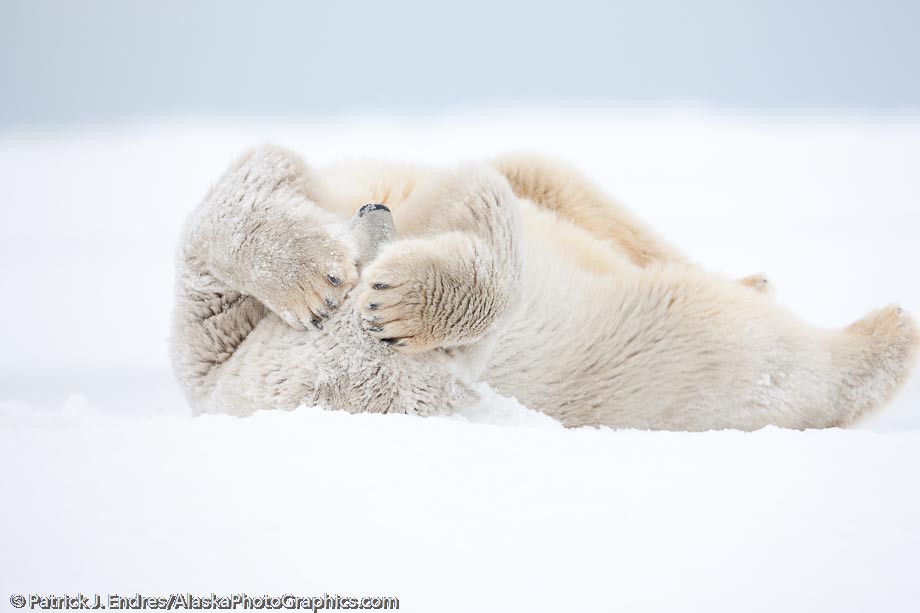
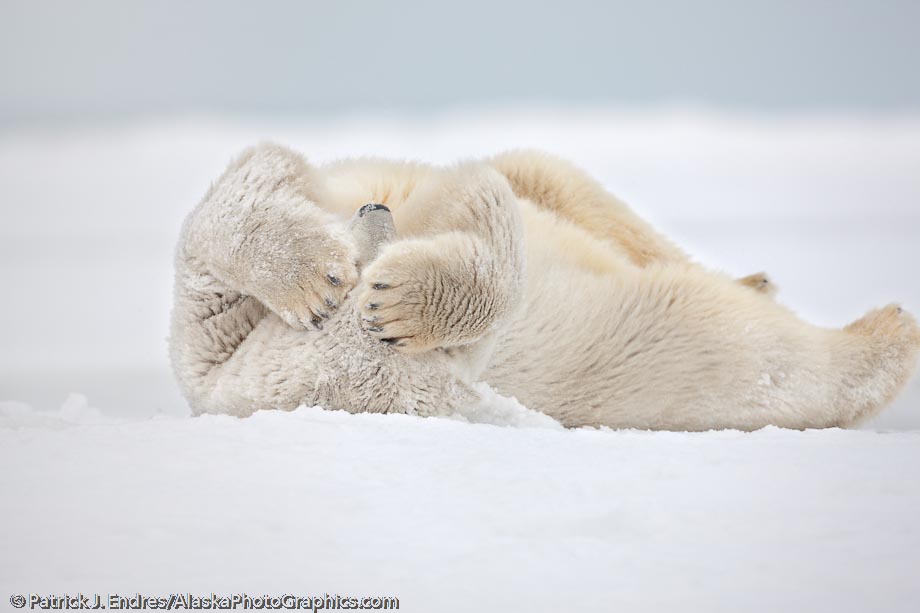
To compensate for the expose-to-the-right settings which I used to capture this image, I used Lightroom and selectively brought the brightness down a bit using the brush and gradient tools to give a little more detail in the snow. The result is subtle, but presents the scene a little more accurate to what the eye sees. Compare the before and after files below.

As shot in RAW format straight out of the camera.

Polar bear cleans its fur by rolling in the snow. Barrier island off Alaska's arctic coast, Arctic National Wildlife Refuge. Canon 1Ds Mark III, 500mm f/4L IS, 1/320 sec @ f/5.6, ISO 800


